


Step 1. Add the Domain Name
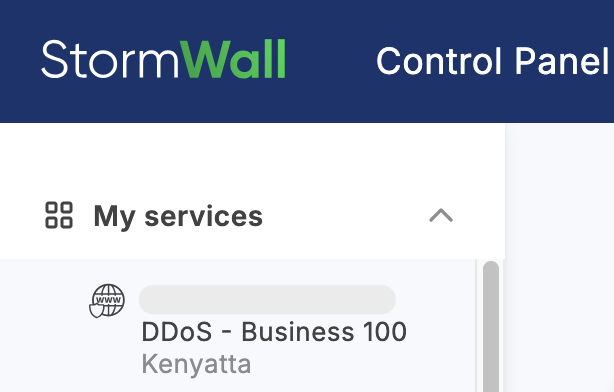
In the left-hand menu of the Control Panel, select the service to which you want to add a domain.
In the Objects area, click the Add object button.

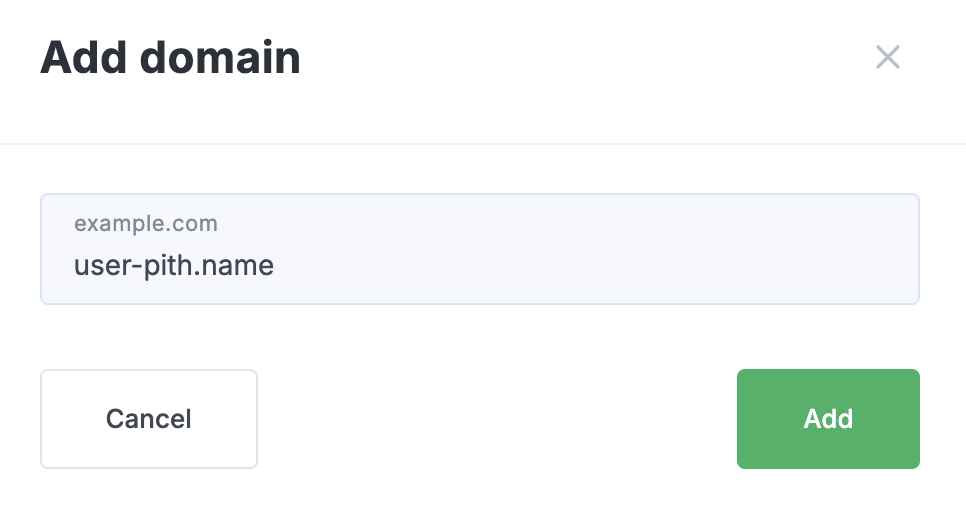
In the form that opens, enter the domain name and click Add.
Step 2. Configure the Backend Server
Click the row with the domain name that appears in the table to open its settings.

In the left-hand menu, select Protected Object (in the section for the new domain).

Click the Add Port button in the Proxied Ports section.
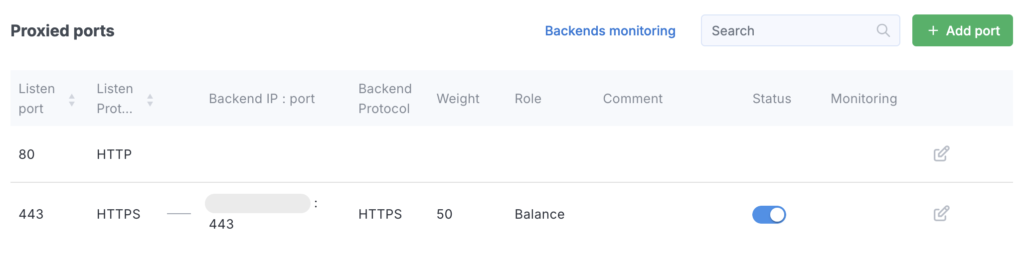
In the pop-up, add a backend server by entering your server’s IP address to receive the cleaned traffic. Requests to the domain will return a 502 error until this address is set.

More information about backend servers is available in our documentation.
Step 3. Configure the SSL Certificate
In the left-hand menu (in the section for the new domain), select Protected Object again. Configure the SSL certificate using the form provided.
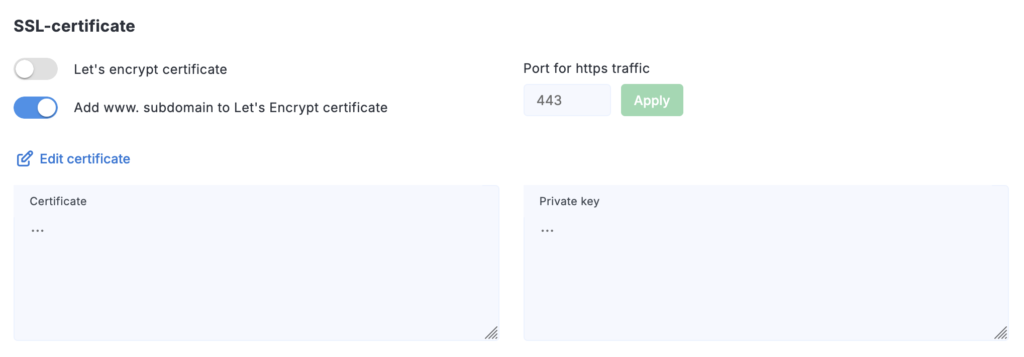
Detailed configuration information is available in the SSL Certificate section.
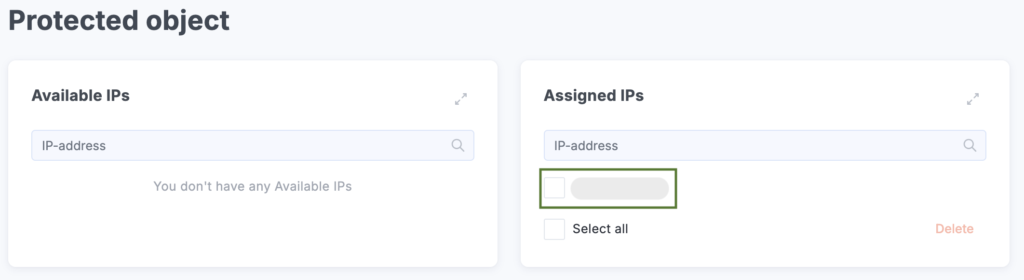
Step 4. Configure the Server
In the domain settings (Protected Object section), check the assigned protected IP address — it is automatically created when the domain is added.
Go to your domain’s DNS management system and add an A record.
Please note that at this step you must specify the protection gateway IP address, not your actual server IP. Do not change the DNS record until the backend has been configured.
Configure your server according to the instructions.
To verify the result, use the service DNSChecker.
After completing all steps, the domain will be ready to receive filtered traffic.