


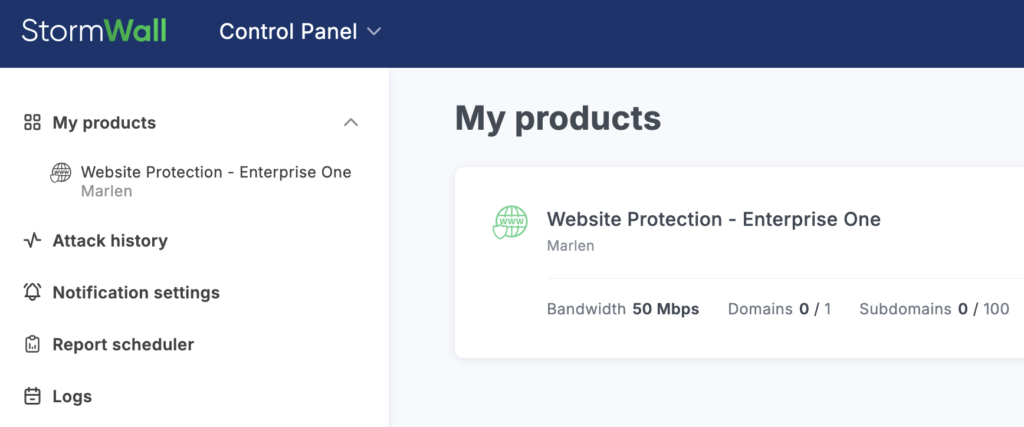
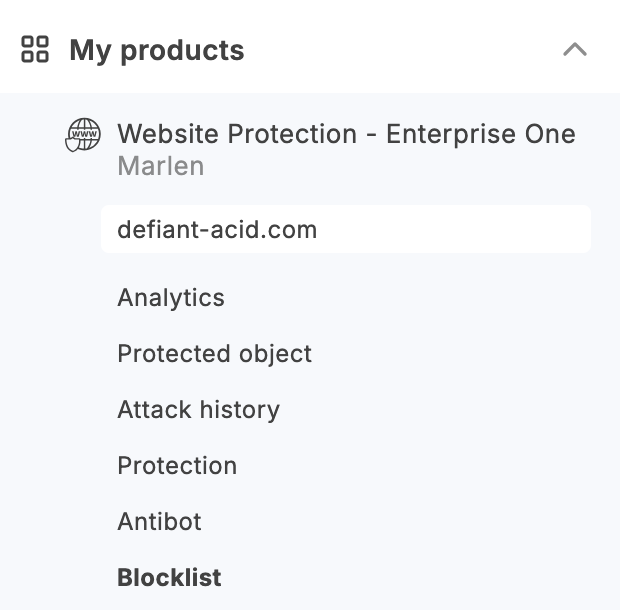
Once the service is connected, it will be displayed in the main account section and in the My products area. Click on its name to open the settings.
On the next page, select the required object by clicking on its schedule row in the table.

In the left menu, select the Blocklist item.
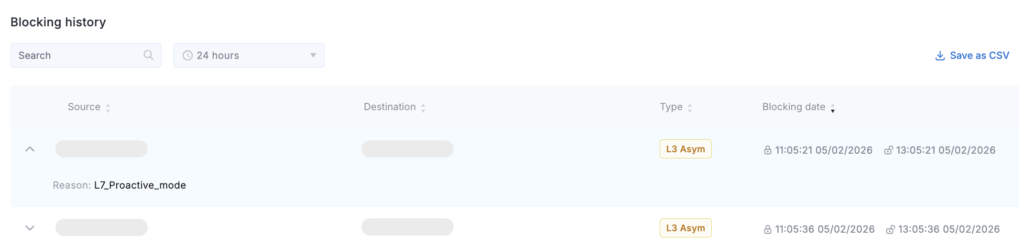
The page that opens displays the IP addresses that are currently blocked, with a form below showing the block history. You can remove specific IP addresses from the block list by checking their boxes and clicking Unblock Selected. You also have the option to clear the entire list by clicking Unblock All.
Click on the blocking row to see its reason.
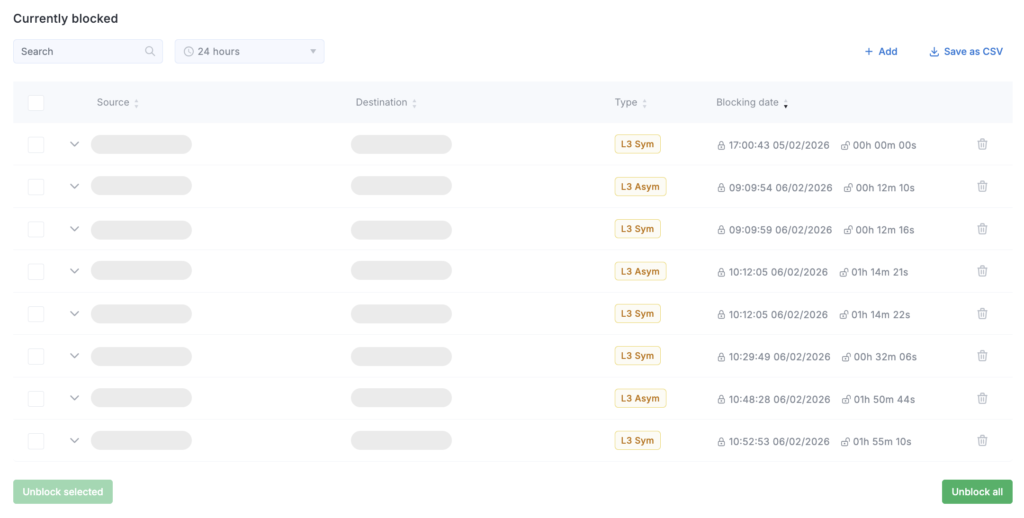
Use the search and the time and data type filters to narrow down the list of addresses. You can save the records to a file by clicking Save as CSV.
To block an IP address, click Add and fill out the form that appears:
- Source – the address you want to block;
- Blocking time – the period in minutes during which the address will be blocked;
- Type – the blocking level (L3 or L7).
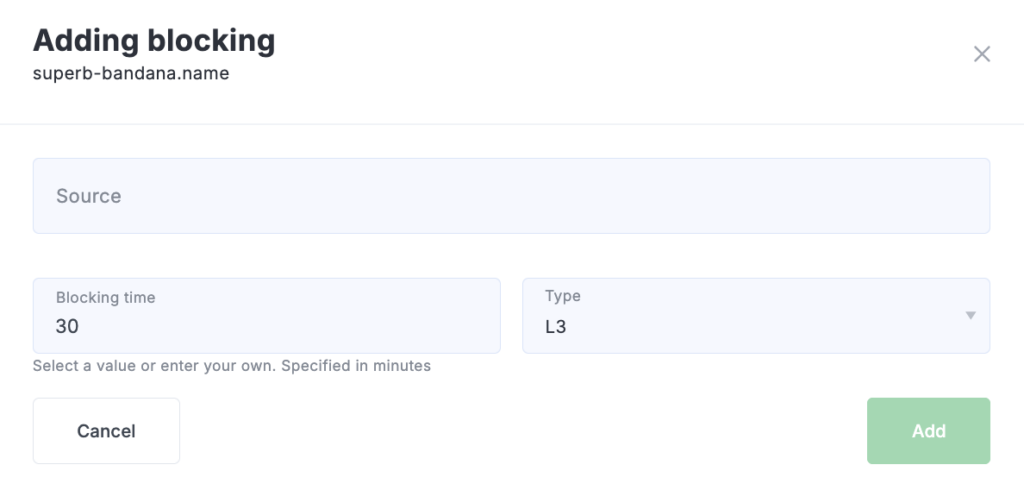
After filling out the form, click Add.
You can remove an address from the block list at any time. Click the delete icon next to the address and confirm the action.

Below the table of IP addresses that are currently blocked, there is a table showing the block history.