


Once connected, the product will appear on your account’s main dashboard and in the My products section. To access its configuration options, simply click the product name.

When the new page opens, select the object you want to manage by clicking its row, which includes a graph thumbnail. A “lock” icon in the table row indicates that the protection settings for that domain cannot be modified.
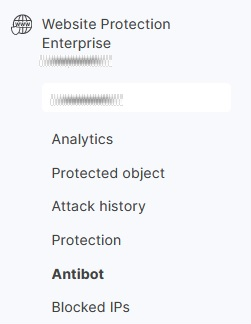
In the left-hand menu, select Antibot.
On the page that opens, you will see the available configurable parameters.
JA3 Blocking and Allowlisting
JA3 is a technique for generating digital fingerprints of SSL/TLS connections by hashing the parameters from the Client Hello message.
After a TCP connection is established (right after the ACK packet exchange), the client can initiate an encrypted session with the server by sending a Client Hello packet. This packet contains TLS parameters such as the protocol version, a random key, and other essential data.
JA3 works by taking advantage of the fact that this set of parameters (including the list of supported ciphers, extensions, and TLS version) is almost always identical for the same application. For example, a web browser and a piece of malware will send different Client Hello packets, but the same application will consistently produce the same fingerprint across multiple sessions.
This consistency makes it possible to identify client applications based on their TLS fingerprints, allowing for fine-grained traffic control — letting you allow or block specific types of traffic as needed.
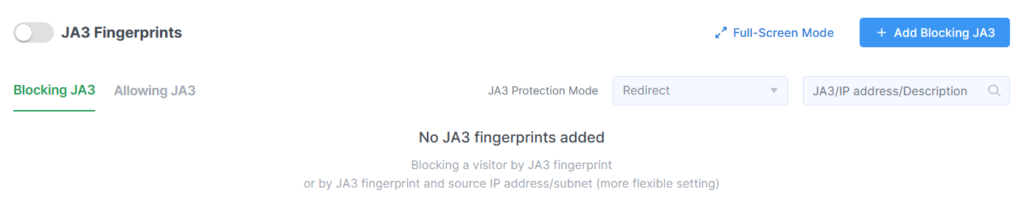
To configure JA3 blocks and permissions, click on the Add Blocking JA3 button or the Full-screen Mode button.
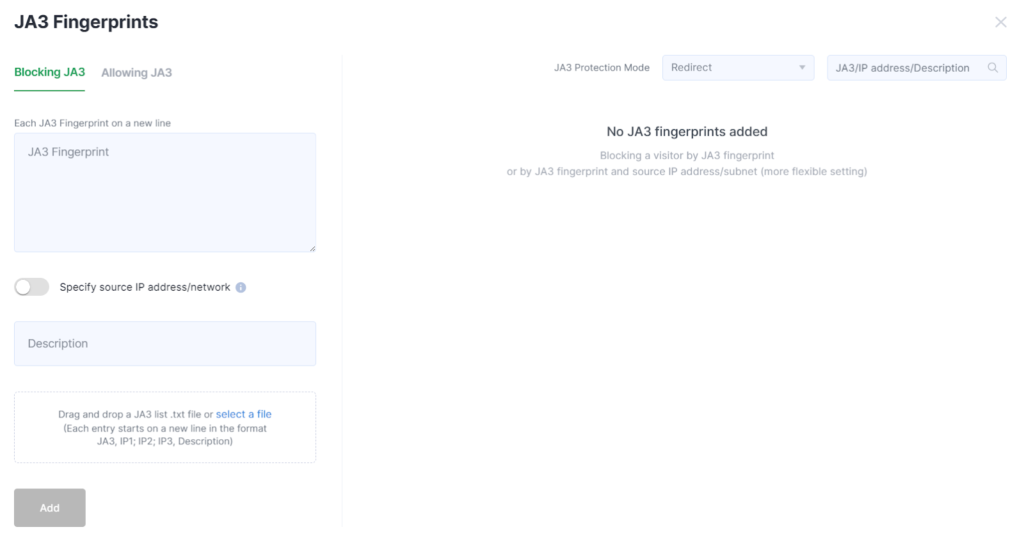
Fill out the form that opens to configure JA3 blocking, uploading data in “.txt” format if needed. Then click Add.
In the JA3 Protection Mode field, select the desired response method for connections that match a JA3 fingerprint.
The selected mode will apply to all JA3 hashes listed in the Blocking tab. Changes made here do not affect the settings in the Allowlisting tab.
Keep in mind that the protection mode configured here applies only to traffic that matches the specified JA3 hashes and does not affect how other traffic is handled.
To configure JA3 allowlisting, switch to the JA3 Allowlisting tab.

Fill it out and click Add.
Once the blocking and allowlisting rules are created, they will appear in the table.
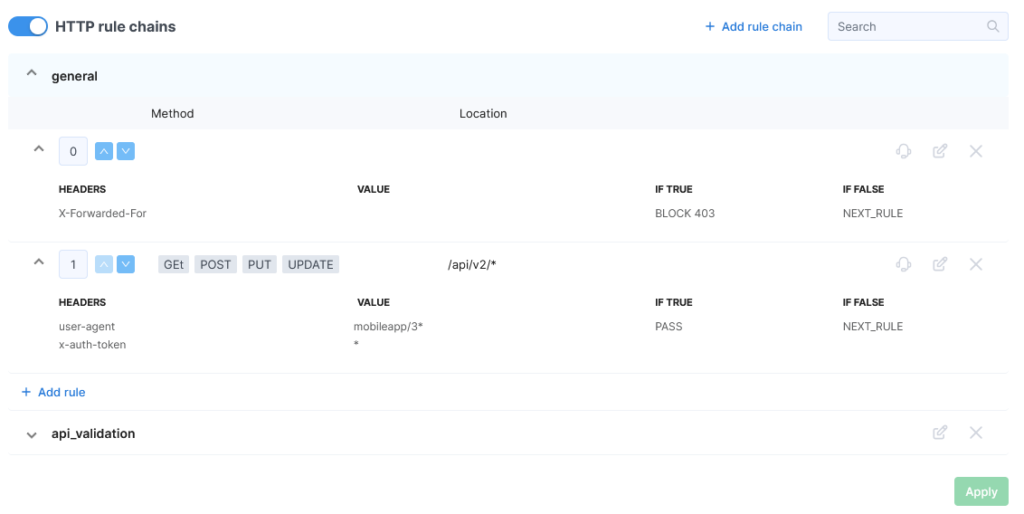
HTTP Rule Chains
You can create chains for processing HTTP requests and check them against multiple parameters at once, specifying the actions to take for matching requests.
This makes it possible to check for the presence or absence of specific headers, cookies, and more. By building rule chains, you can implement a wide range of access control combinations — based on addresses, packet states, and other criteria.

Click the Add rule chain button in the HTTP rule chains section.
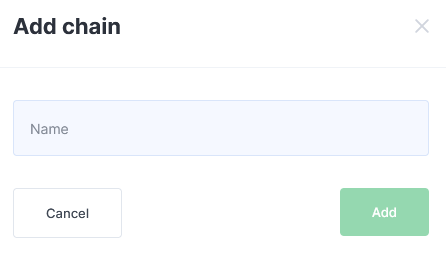
Fill in the field and click Add.
The chain will then appear in the list. Click its name to begin adding rules.
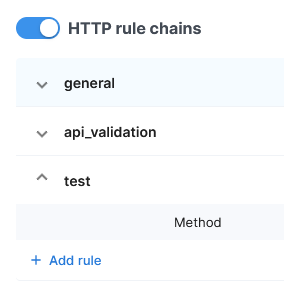
Click the + Add Rule button.
In the form that opens, create a rule.
Specify the actions to take when the request matches or does not match the rule.
You can create a rule without specifying a method — in this case, the rule will apply to all methods.
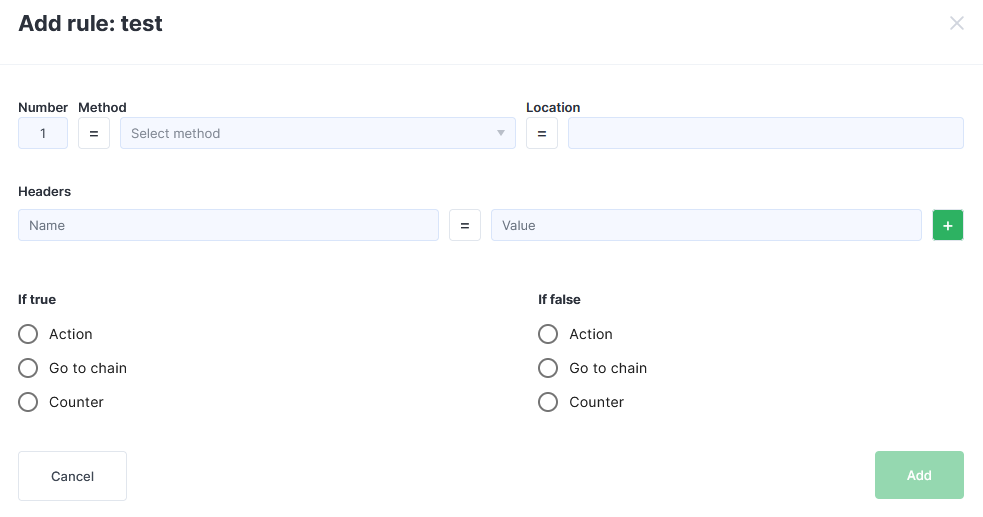
Click the = button in the Headers section if you need to set the inequality sign: !=.

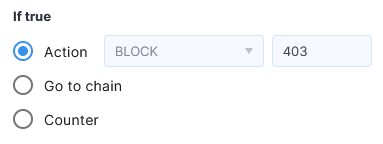
When BLOCK is selected in the Action field, a text box will appear for entering the HTTP response code to be returned when the rule is triggered (e.g., 403).
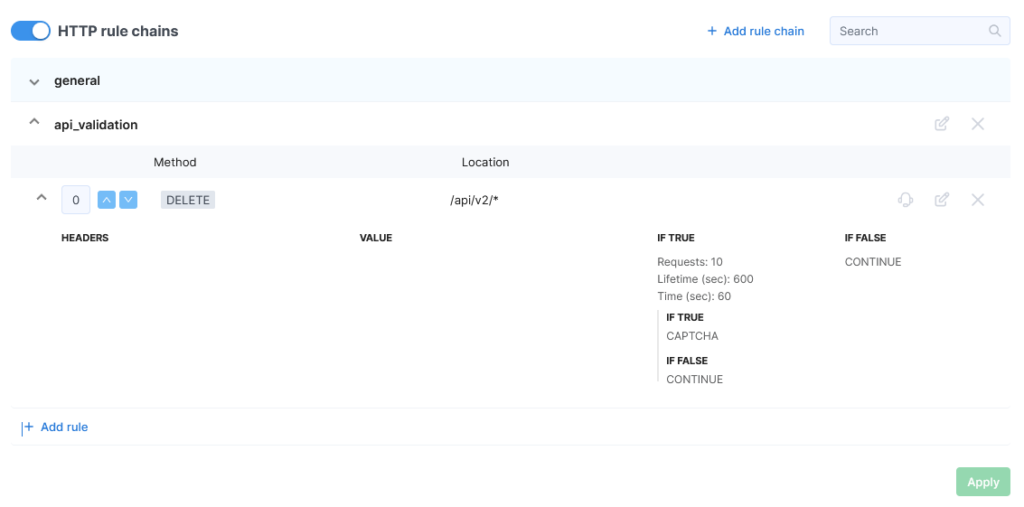
For example, you can create a rule named “general”, specifying the methods “GET”, “POST”, “PUT”, and “DELETE” and the location “^/(api|mobileapp)/.+” with the action “Go to chain api_validation” if the rule is matched, and “NEXT RULE” if it is not.
When selecting the PASS action in the If true area, packets are excluded only from interactive checks. At the same time, the Firewall block rules settings (in the Advanced settings section) continue to apply to requests.
Examples of Rules:
After creating the rule, it will appear in the table and be available for editing.