


After the service is connected, it will appear on the main page of your Client Portal and in the My products list.
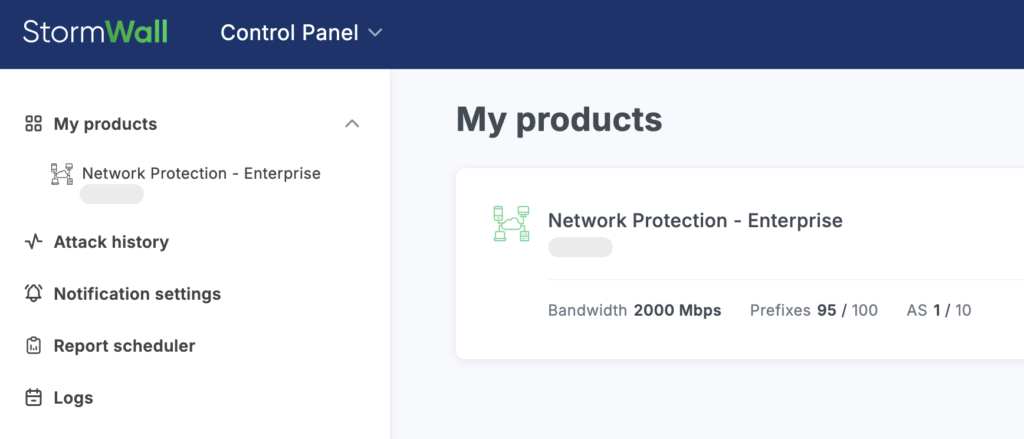
To view its details, click the service name in the central area of the page or in the list on the left.
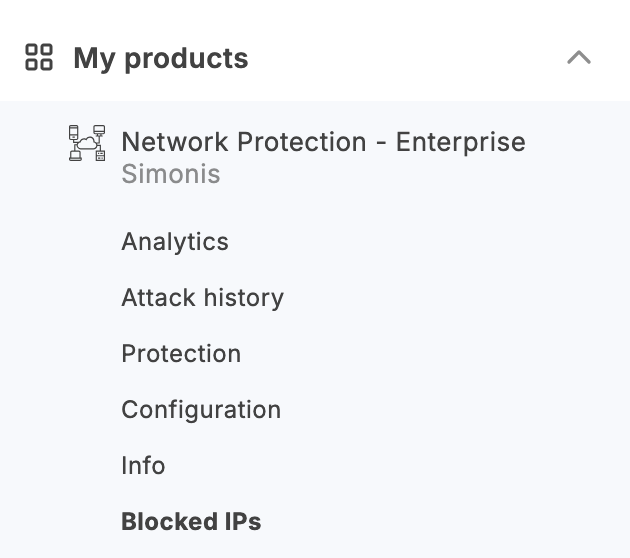
If there is only one object, a management menu for it will open automatically on the left side of the page.
If there are multiple objects, go to the Objects area (located below the graph), select the desired object, and click its thumbnail image.

This will open the management menu for the selected object on the left side of the page.
In the left-hand menu, select Blocked IPs.
On the page that opens, you will see a list of blocked IP addresses. Use the search bar, the test/real block filter, and the time filter to refine the list. You can save the list of addresses by clicking Save as CSV.
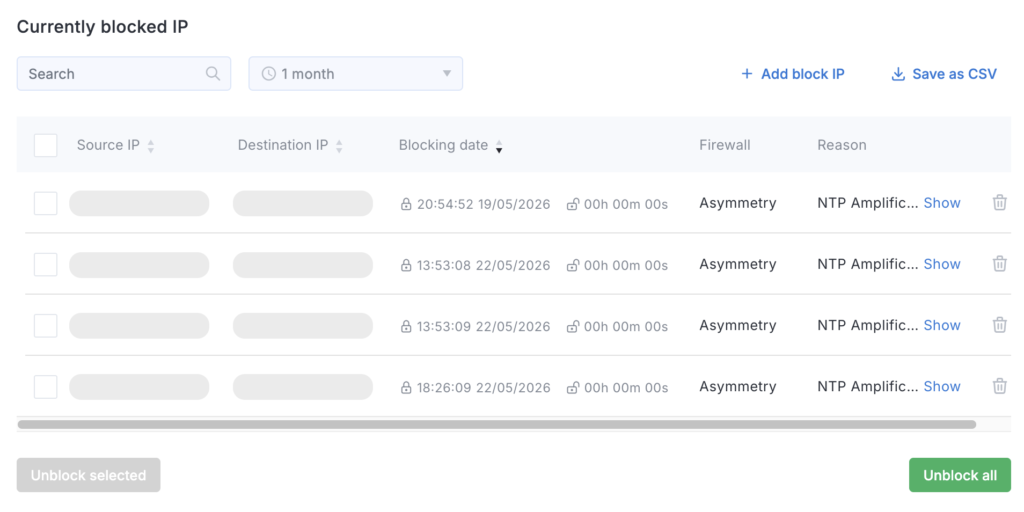
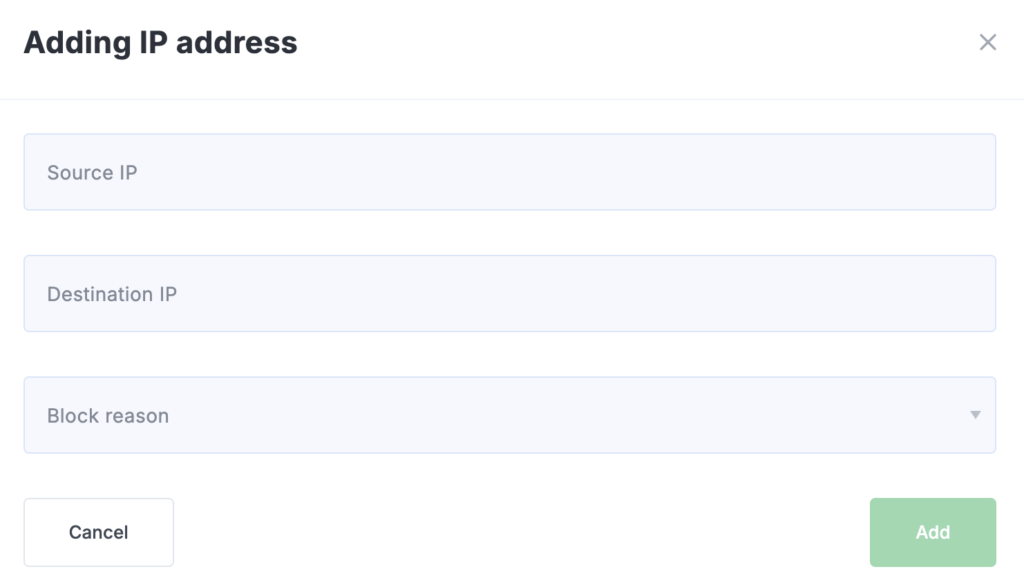
To block an IP address, click the Add Block IP button. Fill out the form that appears, then click Add.
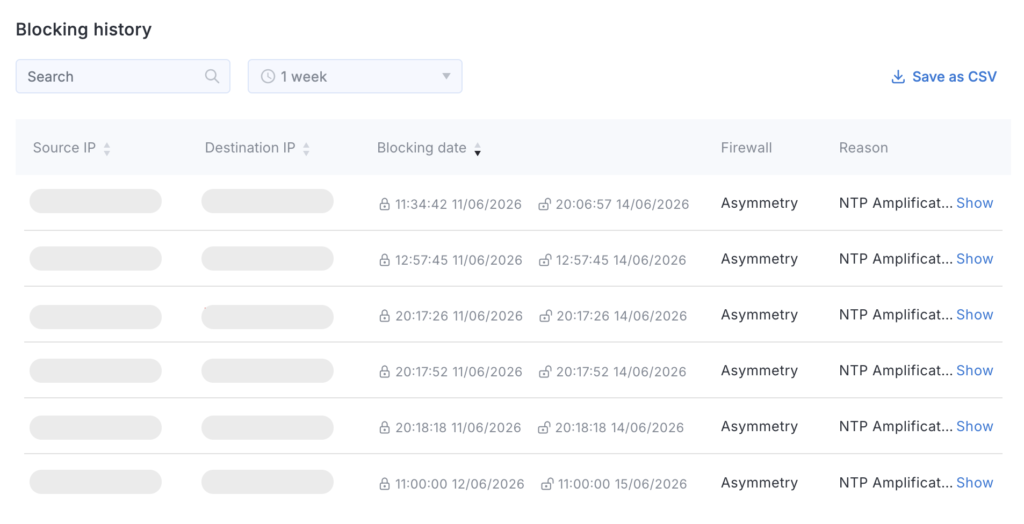
Below the blocked IP address table, you’ll find the Blocking History table. It also includes search and filtering options. You can save the list by clicking Save as CSV.