


After connecting the product, it will be displayed on the main page of your Client Portal and in the My products section.
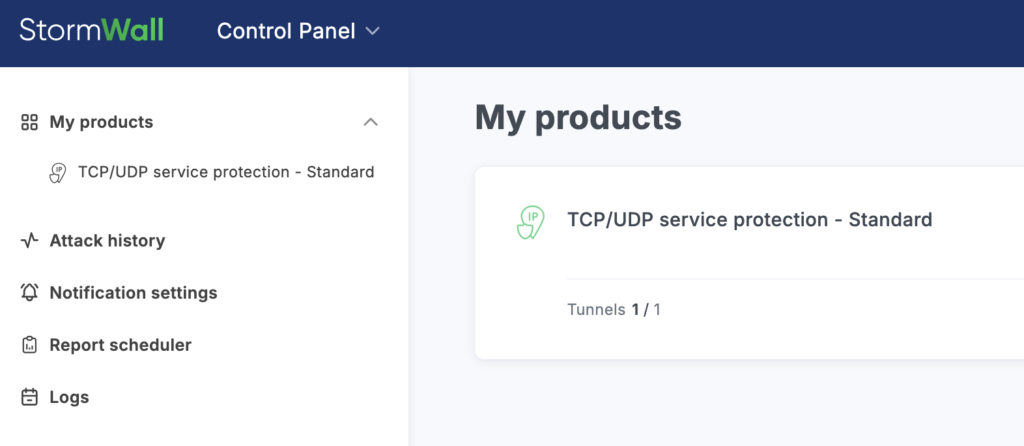
To view its details, click on the service name in the center of the page or in the list on the left.
If only one object is available, a management panel will automatically appear on the left side of the screen.
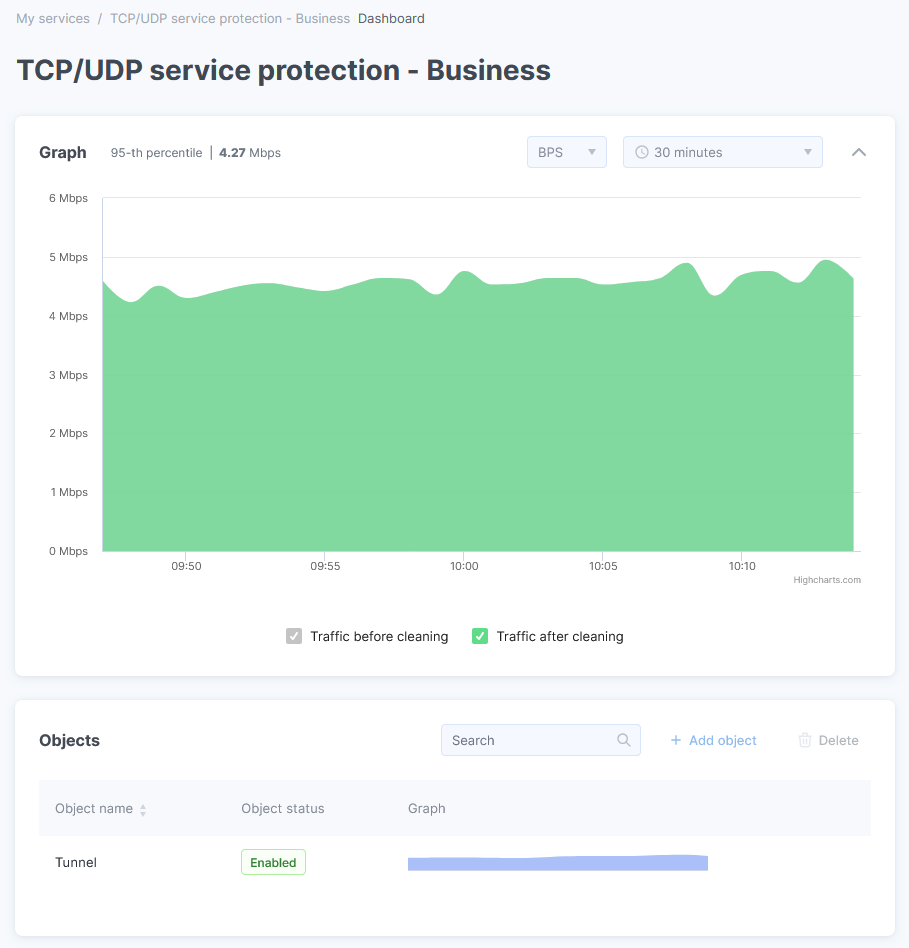
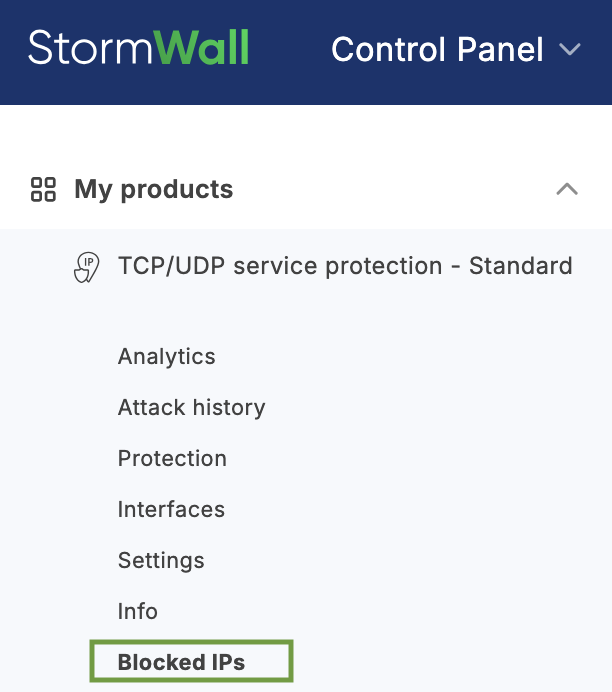
Go to the Objects section, find the desired object, and click its chart icon. This will bring up the management menu in the left panel of the page.
In the menu, select the Blocked IPs option.
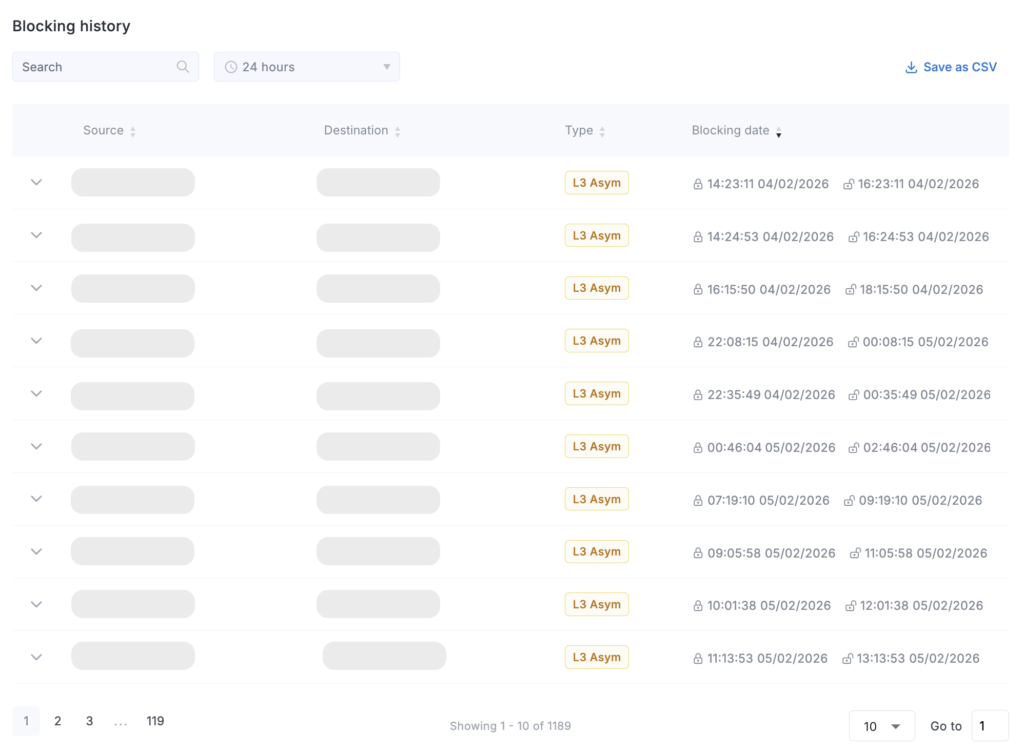
The page that opens will display:
- Currently blocked IPs;
- Block history.
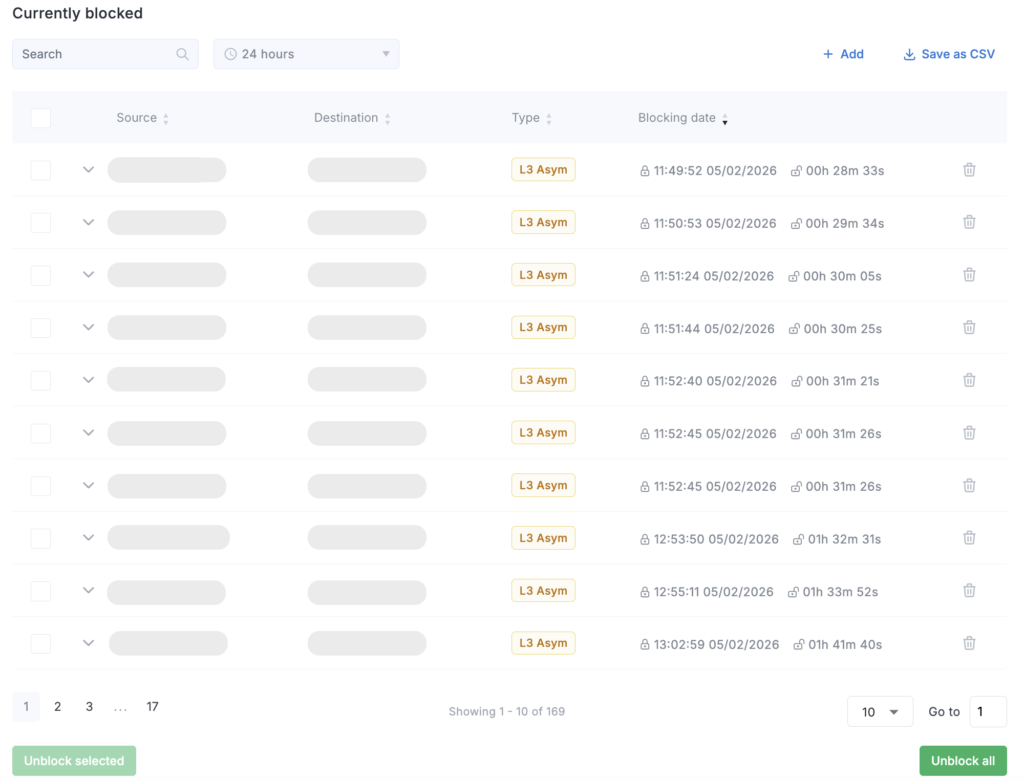
You can remove specific IP addresses from the block list by checking their boxes and clicking Unblock Selected. You can also clear the entire list using Unblock All.
Use the search and the time and data type filters to refine your list of addresses. You can save the records to a file by clicking Save as CSV.
To block an IP address, click Add Block IP and fill out the form that opens:
- Source IP Address – the address to be blocked
- Destination IP Address – your address that needs protection
- Reason for Blocking – optional field
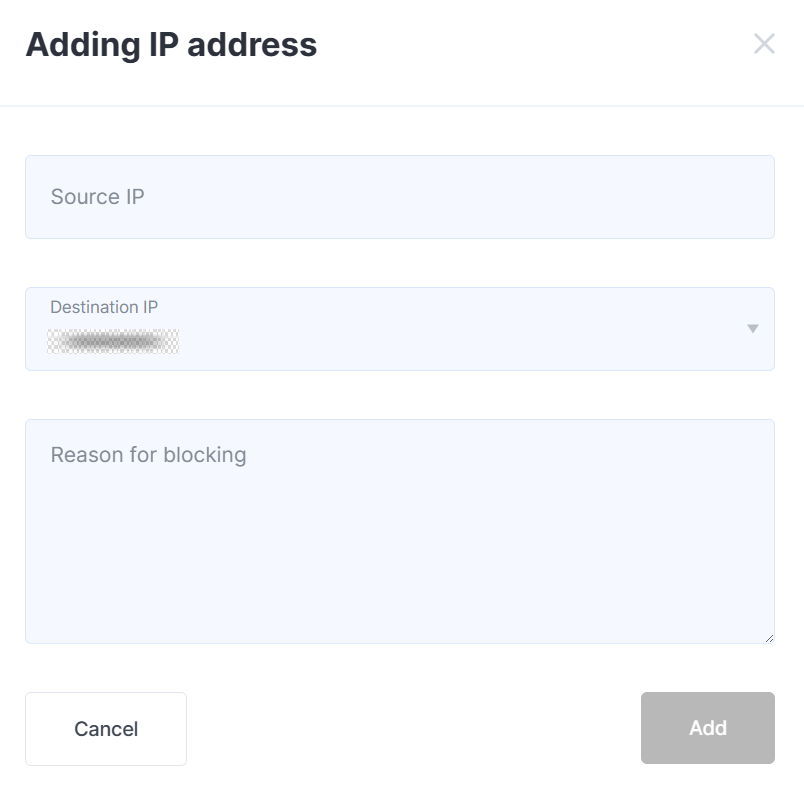
After filling out the form, click Add.