


After activation, the service will be available in your dashboard — on the main page and in the My Services section.
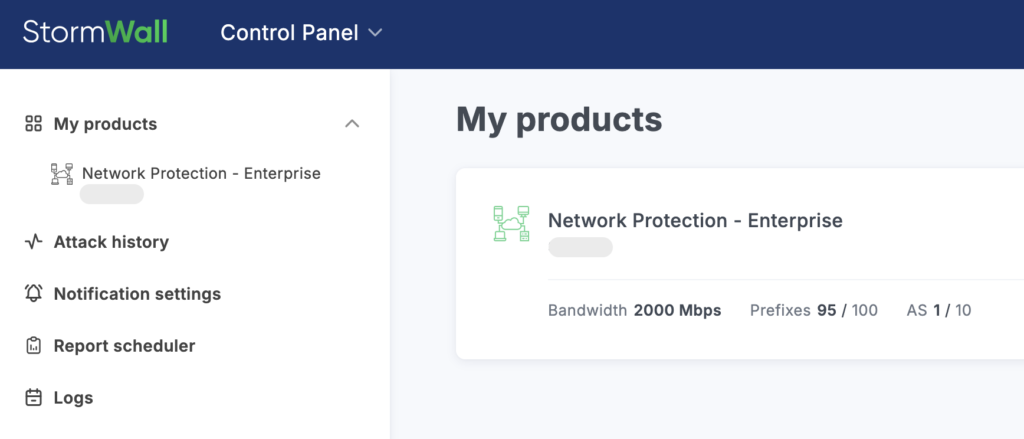
To access the settings or view details, select the service from the list on the left or from the central block of the interface.
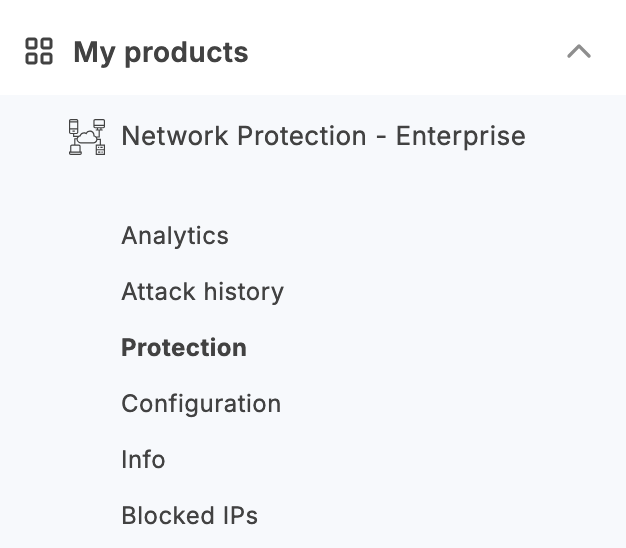
If there is only one protected object, its settings will open immediately in the left control panel.
If there are several objects, click the row of the desired object in the Objects section of the table.

This will open a menu on the left side of the page for managing the selected object.
In the menu that appears, select Protection.
The set of settings depends on the version of the service in use:
- Geolocation Filter, Whitelist, and Blacklist Rules
- Mitigations
If you do not have access to the Mitigations tool in your Client Portal, please contact our technical support team.
Mitigations
A mitigation is a group of your subnets and servers for which protection can be configured individually.
The mitigations table includes the following columns:
- Name — the name of the mitigation and the entity that created it (user or system);
- Modification time — the date, time, and author of the latest changes;
- Description — an optional text description (up to 256 characters).
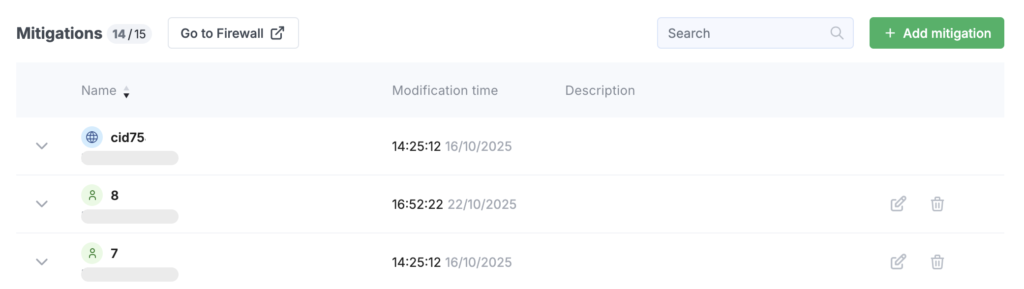
When you hover over a row in the table, buttons for editing and deleting the mitigation appear on the right side.
For each mitigation, you can configure individual whitelist and blacklist settings, as well as firewall rules.
When the service is created, a default mitigation is automatically generated, which includes all protected prefixes. This default mitigation cannot be edited. You can, however, create your own mitigations and include any of your protected objects in them.
To do this, click the + Add Mitigation button and fill out the form:
- Name — the name of the mitigation;
- Description — an optional description;
- Destination Subnet — a list of prefixes (IP addresses with masks).
To open a mitigation, click its row in the table. An area with information about its rules will appear.

The following information applies to all IP address input fields in this section:
Firewall Rules
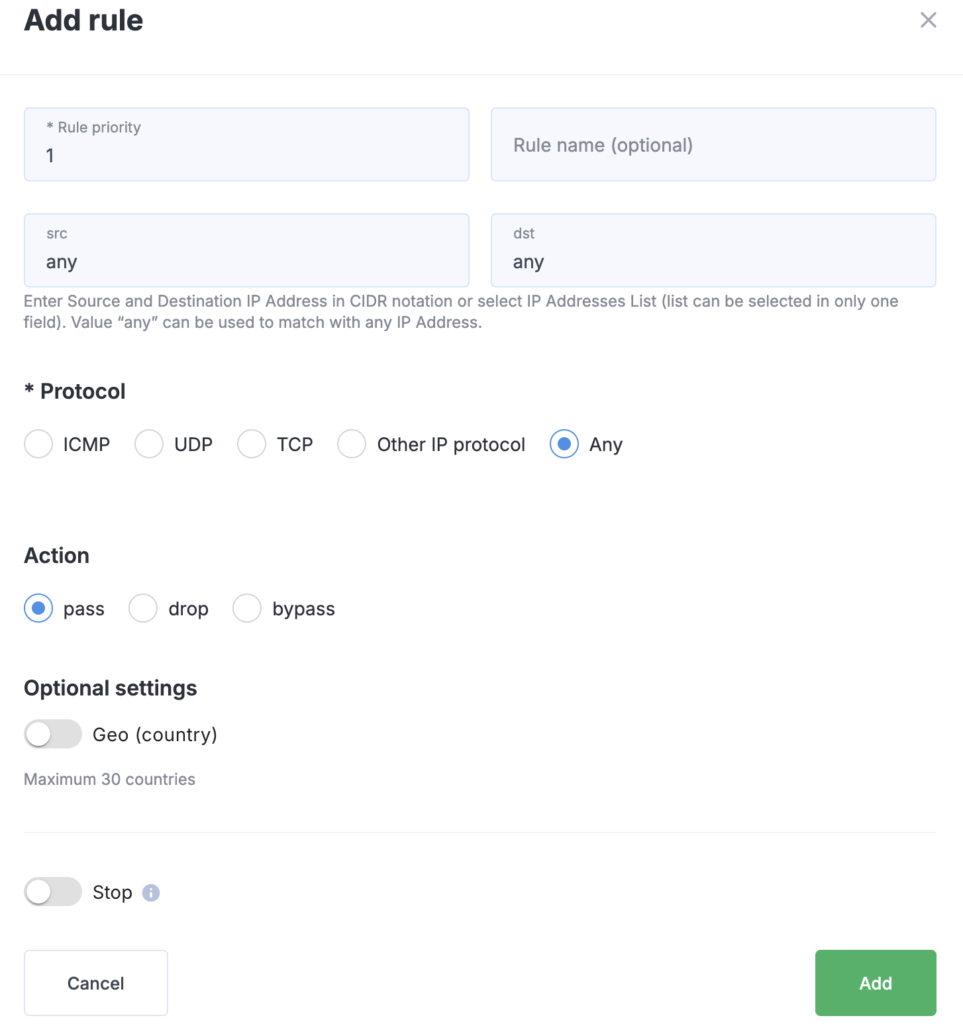
To create a rule, click the + Add Rule button and fill out the form:
- Priority and Name of the rule
- Source (src) — the source IP address
- Destination (dst) — the destination IP address
- Protocol — you can select a single protocol or specify multiple using commas by choosing Other IP Protocol (for example, TCP = 6, UDP = 17 according to IANA)
- Source and Destination Ports — if the selected protocol supports ports. Ports can be listed separated by commas or specified as a range using a colon
Action (pass / drop / bypass) — defines what happens when the rule is triggered:
- pass — a non-intrusive action that can be used for additional processing or for counting packets matching the rule
- drop — discard packets without further processing
- bypass — skip packet processing in subsequent rules
Geo (Country) — select the countries whose visitors the rule will apply to. If the switch is disabled, the rule applies to all countries.
Not Match switch — appears when the Geo (Country) option is selected and reverses the rule logic (it will trigger for either matching or non-matching countries).
Stop switch — when enabled, prevents subsequent rules in the list from being executed.
Whitelist and Blacklist
Click the Add button to create a new rule.
Fill out the dialog window:
- Active switch — enables or disables the rule. When enabled, the rule will take effect immediately after being added.
- Destination Subnet — a field for entering a list of prefixes (IP addresses with masks) to which the rule applies.
- Source IP Addresses — you can upload a file containing the list of IP addresses to allow or deny access using the Choose File button (or by dragging the file into the area). You can also enter addresses manually in the IP Addresses field.
If you want to allow access to the server 203.0.113.10 from your corporate network 10.0.0.0/16 without filtering, the whitelist configuration will be as follows:
- Destination Subnet: 203.0.113.10/32
- Source IPs: 10.0.0.0/16
Attack Detector Management
In the IPs Switched to Protection section, you can manage the list of prefixes — either remove them from filtering or put them under protection.
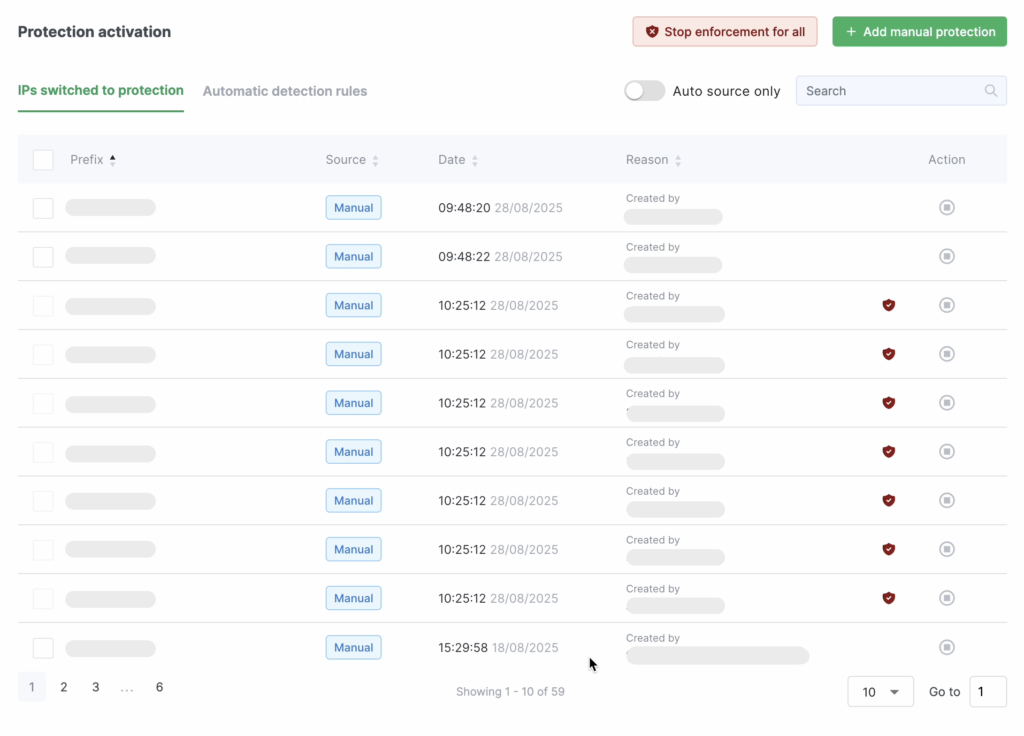
To remove a single subnet from filtering, click the delete button in the Action column and confirm the removal in the dialog window.
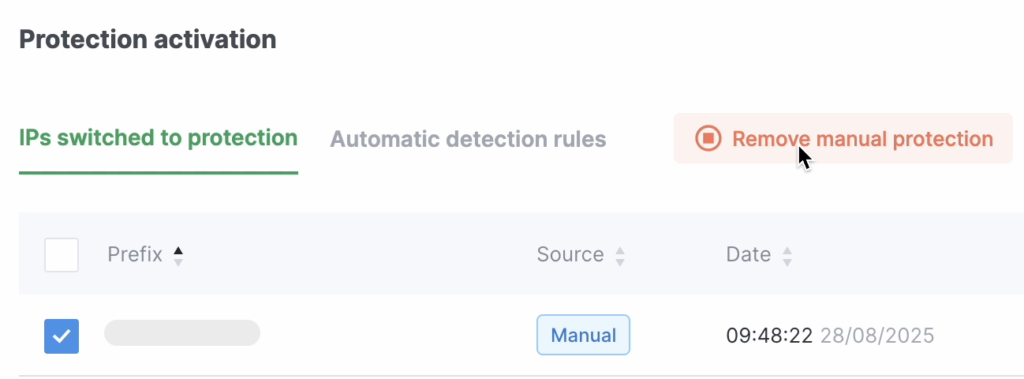
To remove multiple prefixes from filtering, select them by checking the boxes in the first column of the table. Then click Remove Manual Protection (this button appears once one or more prefixes are selected).
The Force Protection for All button puts all prefixes under filtering, while the Stop Enforcement button cancels this action. Manually configured rules will remain in effect. Prefixes that will be removed from filtering when you click this button are marked with red icons on the right side of the table.
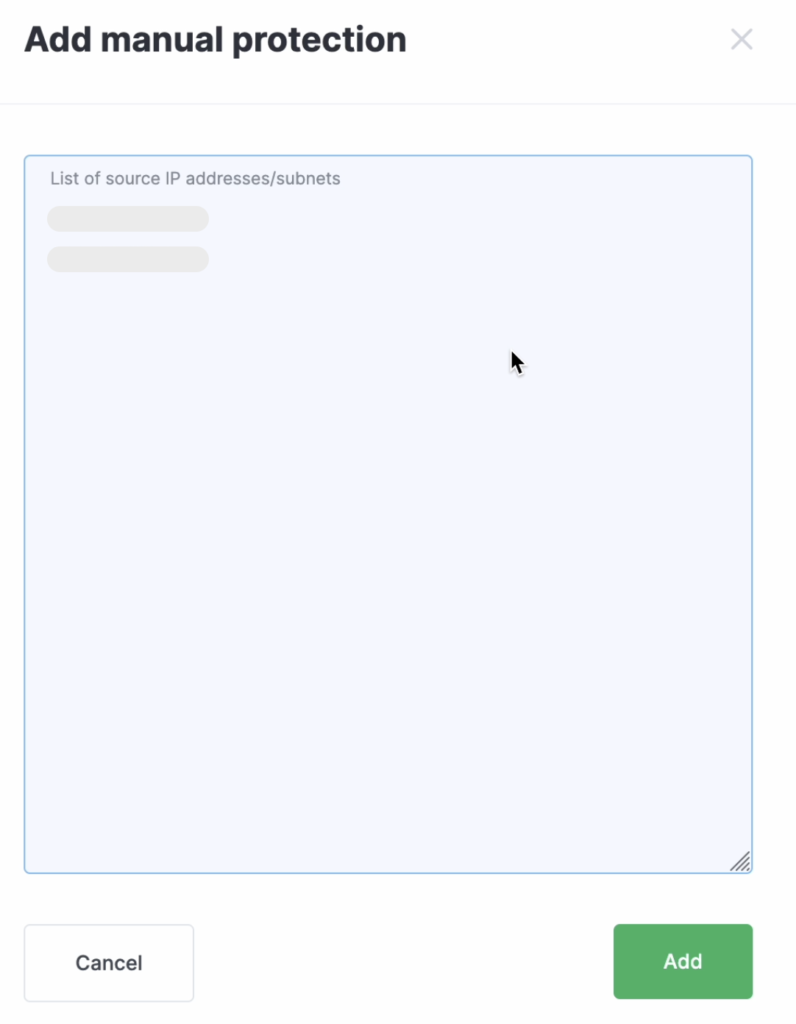
To add prefixes to the table, click the + Add Manual Protection button. In the field that opens, enter the required prefixes, one per line, and save the changes.
In the Automatic Detection Rules section, you can review both general and custom attack detection rules.
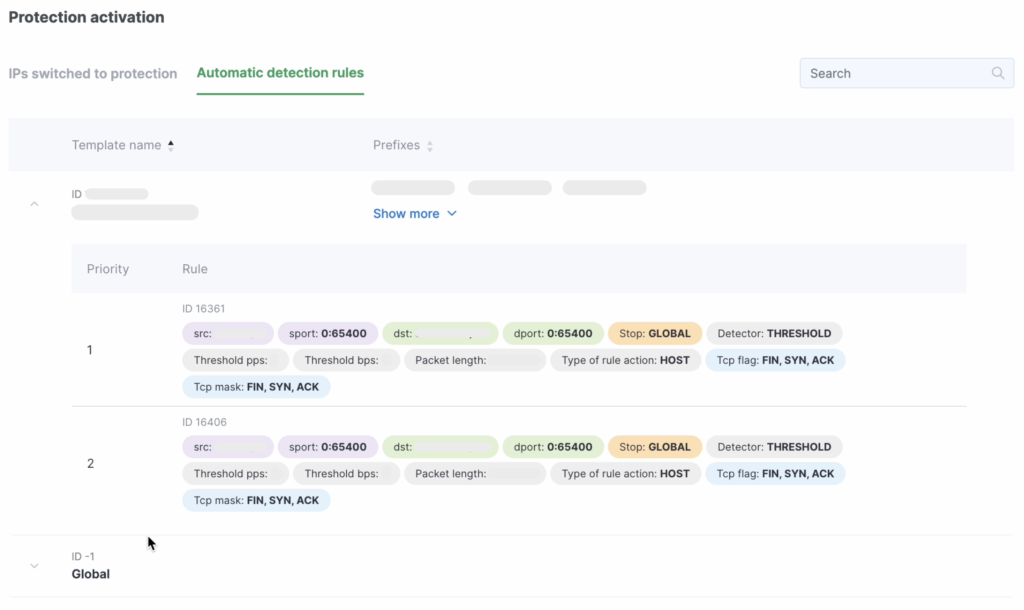
To make changes to the rules, please contact our technical support team.