


After you have connected the product, you need to perform configuration in your personal account and on your server side.
In your Contol Panel
To ensure your domain operates under our protection, you need to add it to the protected assets page. To do this, log in to your account on the website. The Objects area is located in the Control Panel tab.
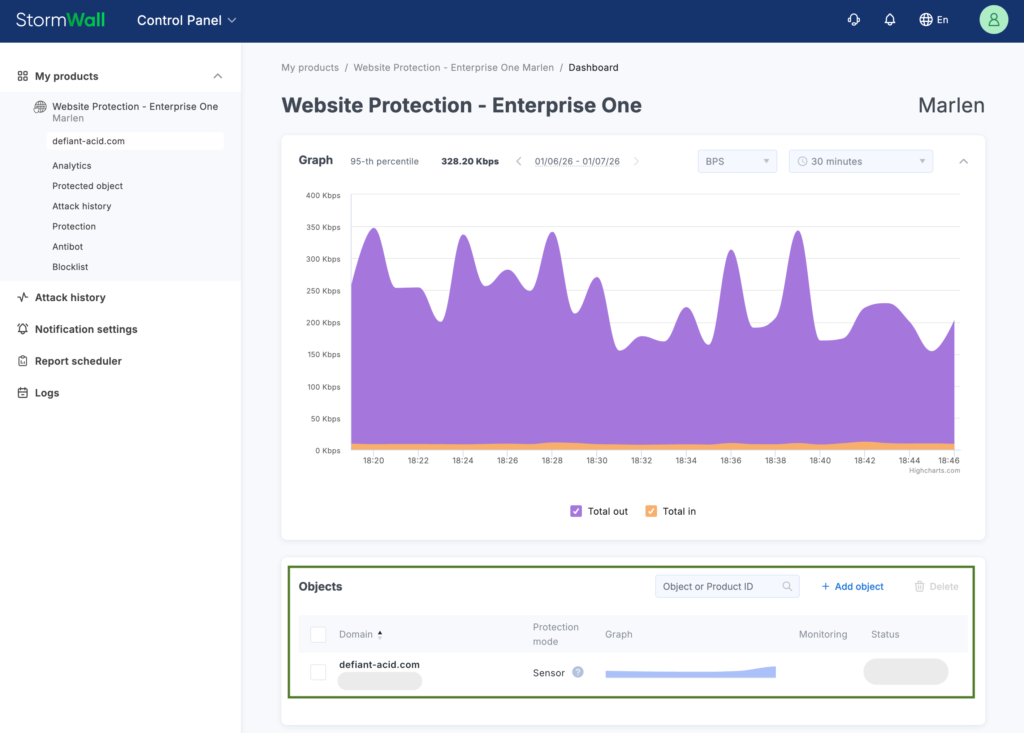
Click the Add object button.
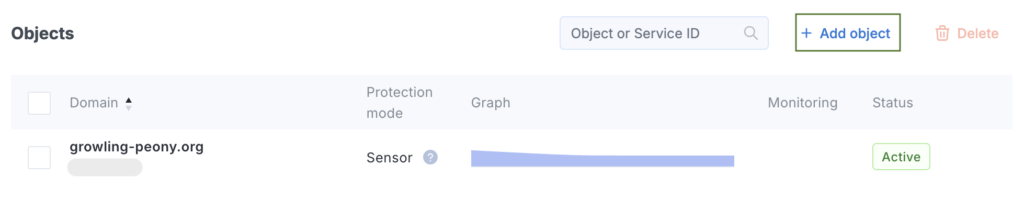
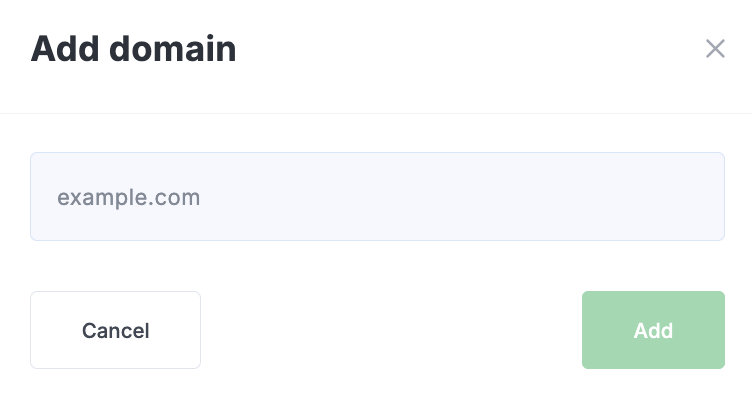
Enter your domain name in the field that appears and click the Add button.
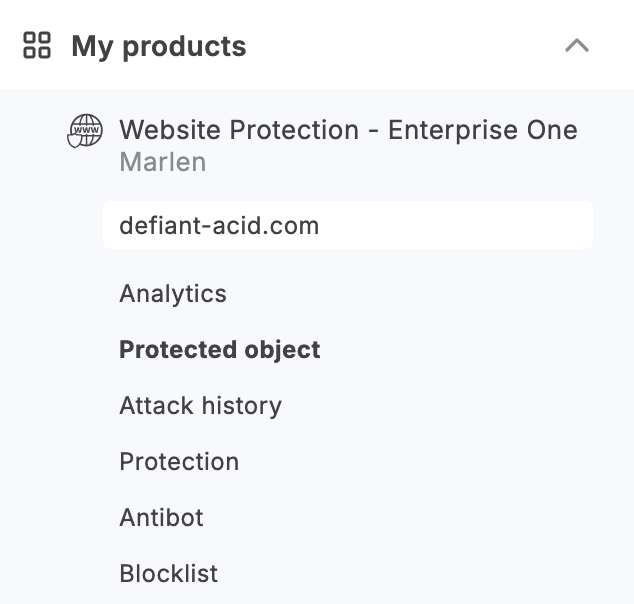
The added domain will appear in the Objects table.
Click on the row of the added domain. A page will open with the object management menu on the left side.
Click the Protected object menu item.
On the page that opens, perform the configuration according to the instructions.
On your server side
We have allocated a protected IP address for you — you now need to replace the current A record of your domain in the DNS with this address.
Additionally, for the protection system to function correctly, you need to add our outgoing addresses to the trusted list: remove all restrictions in the Firewall and at the web server level.
The list of our outgoing networks:
- 103.134.155.0/24
- 160.25.253.0/24
- 185.121.240.0/22
- 193.84.78.0/24
- 193.104.120.0/24
- 188.0.150.0/24
- 193.84.90.0/24
- 160.79.120.0/24
You can use the following commands:
iptables -I INPUT -s 103.134.155.0/24 -j ACCEPT
iptables -I INPUT -s 160.25.253.0/24 -j ACCEPT
iptables -I INPUT -s 185.121.240.0/22 -j ACCEPT
iptables -I INPUT -s 193.84.78.0/24 -j ACCEPT
iptables -I INPUT -s 193.104.120.0/24 -j ACCEPT
iptables -I INPUT -s 188.0.150.0/24 -j ACCEPT
iptables -I INPUT -s 193.84.90.0/24 -j ACCEPT
iptables -I INPUT -s 160.79.120.0/24 -j ACCEPT
If attackers know the direct IP address of your web server, we recommend blocking connections to ports 80 and 443 for all networks except local connections and those coming from our networks:
iptables -I INPUT -p tcp -m multiport –dports 80,443 -j DROP
iptables -I INPUT -i lo -j ACCEPT
iptables -I INPUT -s 103.134.155.0/24 -j ACCEPT
iptables -I INPUT -s 160.25.253.0/24 -j ACCEPT
iptables -I INPUT -s 185.121.240.0/22 -j ACCEPT
iptables -I INPUT -s 193.84.78.0/24 -j ACCEPT
iptables -I INPUT -s 193.104.120.0/24 -j ACCEPT
iptables -I INPUT -s 188.0.150.0/24 -j ACCEPT
iptables -I INPUT -s 193.84.90.0/24 -j ACCEPT
iptables -I INPUT -s 160.79.120.0/24 -j ACCEPT
iptables -I INPUT -s 127.0.0.1 -j ACCEPT
iptables -I INPUT -s IP.Your.Web.Server -j ACCEPT
iptables -I INPUT -m conntrack –ctstate RELATED,ESTABLISHED -j ACCEPT
After this, you need to restart your web server process. When protection is enabled, information about users’ real IP addresses is passed in the HTTP headers X-Real-IP and X-Forwarded-For. To display the real IP addresses, configure mod_rpaf for Apache web servers, mod_remoteip for Apache > 2.3, or http_real_ip for Nginx, so that your web server correctly processes these headers.
Nginx Configuration
In the configuration file /etc/nginx/nginx.conf, under the http or server section, add:
set_real_ip_from 103.134.155.0/24;
set_real_ip_from 160.25.253.0/24;
set_real_ip_from 185.121.240.0/22;
set_real_ip_from 193.84.78.0/24;
set_real_ip_from 193.104.120.0/24;
set_real_ip_from 188.0.150.0/24;
set_real_ip_from 193.84.90.0/24;
set_real_ip_from 160.79.120.0/24;
real_ip_header X-Forwarded-For;
Save the configuration file and restart Nginx with:
service nginx restart
Apache Configuration (mod_rpaf)
In the module’s configuration file, enter the following settings.
In the module configuration file, add:
RPAFenable On
RPAFsethostname On
RPAFproxy_ips 127.0.0.1 103.134.155.0/24 160.25.253.0/24 185.121.240.0/22 193.84.78.0/24 193.104.120.0/24 188.0.150.0/24 193.84.90.0/24 160.79.120.0/24
RPAFheader X-Forwarded-For
Apache Configuration (mod_remoteip)
In the module’s configuration file, enter the following settings:
RemoteIPHeader X-Forwarded-For
RemoteIPInternalProxy 127.0.0.1 103.134.155.0/24 160.25.253.0/24 185.121.240.0/22 193.84.78.0/24 193.104.120.0/24 188.0.150.0/24 193.84.90.0/24 160.79.120.0/24
Save the configuration file and restart Apache with:
service apache2 restart
For IIS configuration, follow the steps in this guide: https://techcommunity.microsoft.com/t5/iis-support-blog/how-to-use-x-forwarded-for-header-to-log-actual-client-ip/ba-p/873115.
If you need help with these settings, please let us know. Also, keep the following in mind:
- If your site uses SSL (HTTPS), you can configure it in detail in your account.
- If you use WebSockets, let us know which ports need to be opened on our side.
- You can also use our DNS servers — just inform us in advance via a support ticket.
When using site protection, do not disclose the server’s direct IP address. Mail should be sent through an external relay. For protecting other applications, use our application protection service.
DNS Servers
If needed, you may also use our DNS servers.
The addresses of our DNS servers are:
– dns1.storm-pro.net
– dns2.storm-pro.net
– dns3.storm-pro.net
– dns4.storm-pro.net
For any setup difficulties, please contact us via chat on the website or through the inquiry form in your account.