


After the product is connected, it will appear on the main page of your Client Portal and in the My products list.
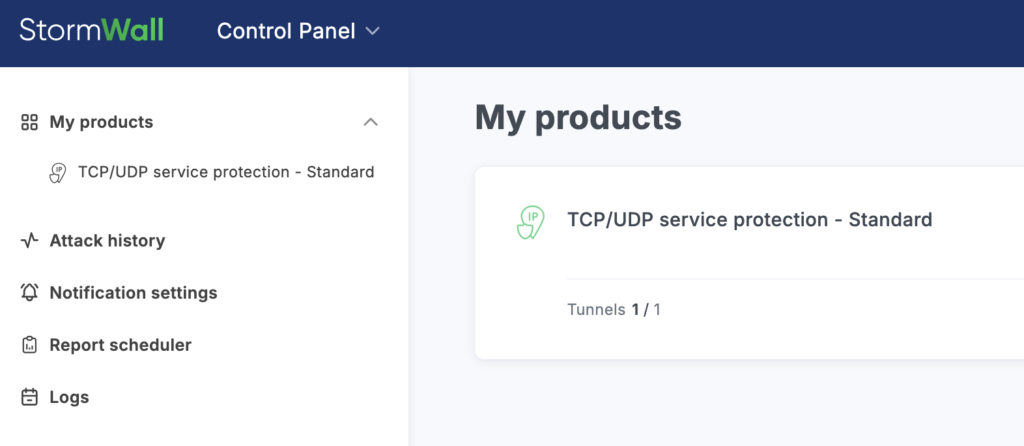
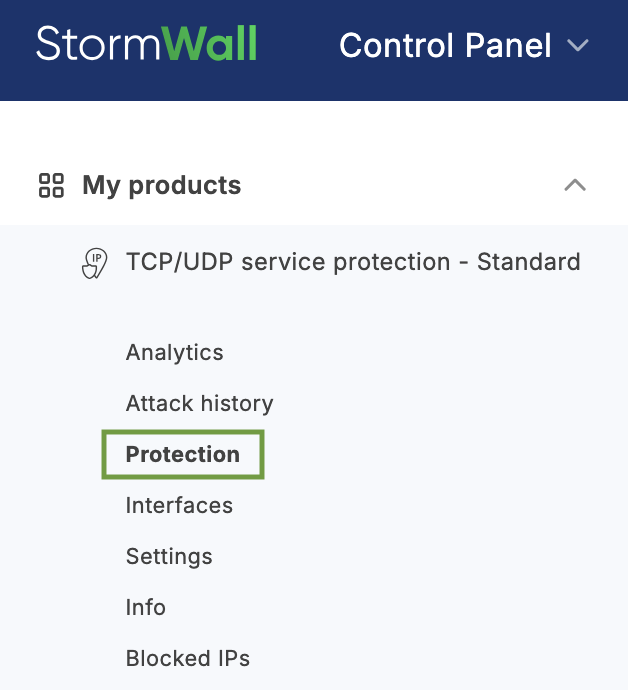
To view the details, click the service name in the central area of the page or in the list on the left.
If there is only one object, a management menu for it will open on the left side of the page.
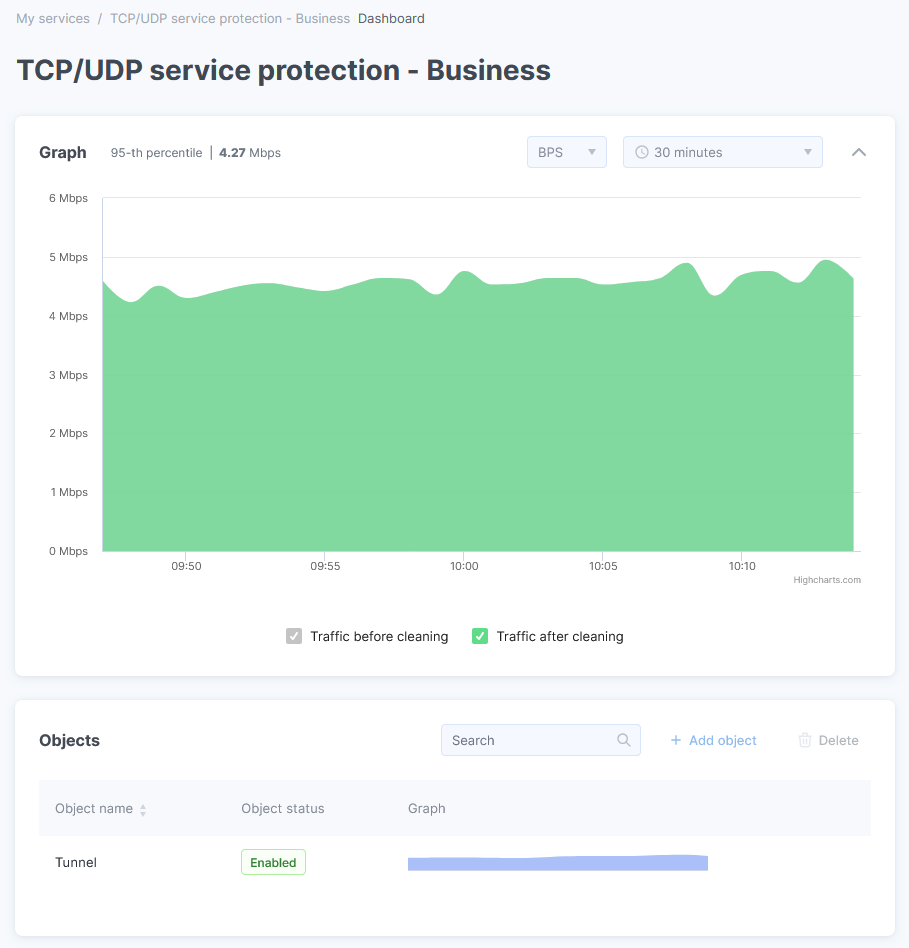
In the Objects section, select the object you are interested in and click the chart thumbnail in its row. This will open a menu for managing the selected object on the left side of the page.
In the menu that opens, select Protection.
If you do not have access to the Mitigations tool in your Client Portal, please contact our technical support team.
Mitigations
A mitigation is a group of your resources for which protection can be configured individually: custom firewall rules, as well as whitelist and blacklist entries. A detailed guide on how to use this tool is provided in the article.
Attack Detector Management
The interface allows you to manage the attack detector independently — putting prefixes under filtering individually or in bulk, as well as monitoring the rule sets in the templates. A detailed guide on how to use the tool is provided in the article.